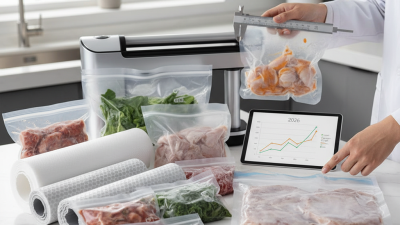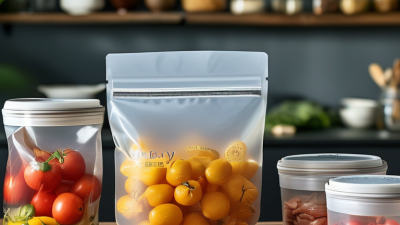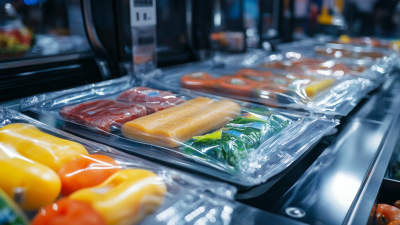
Choosing the right Universal Vacuum Sealer Bags can feel simple until a seal fails during storage. A loose edge, weak material, or unsuitable texture may waste food and time. The best choice depends on your sealer, packaging goals, and daily habits.
In practical kitchen testing, compatibility deserves attention before price. Check whether the bags work with external suction or chamber vacuum sealers. Confirm the manufacturer’s size recommendations. Look for food-grade materials, reliable heat sealing, and suitable thickness. Textured channels can improve air removal in many external machines. Smooth bags may suit chamber systems better. Small details matter.
Consider the items you store. Delicate berries need protection from crushing. Sharp bones may require thicker bags or an extra protective layer. For soups and marinades, freezing the contents first can reduce spills. Leave enough space above the food for a clean seal. Do not assume every “universal” product performs equally. Not always.
This guide shares seven practical tips based on packaging principles and real kitchen use. It will help you compare bag dimensions, material quality, seal strength, storage conditions, and equipment compatibility. Still, product claims deserve careful review. Specifications can vary between brands, and personal testing remains valuable. Seal a small sample first. Then inspect the seam after chilling, freezing, or handling. A perfect-looking bag is not automatically dependable. Good decisions come from evidence, not attractive labels.
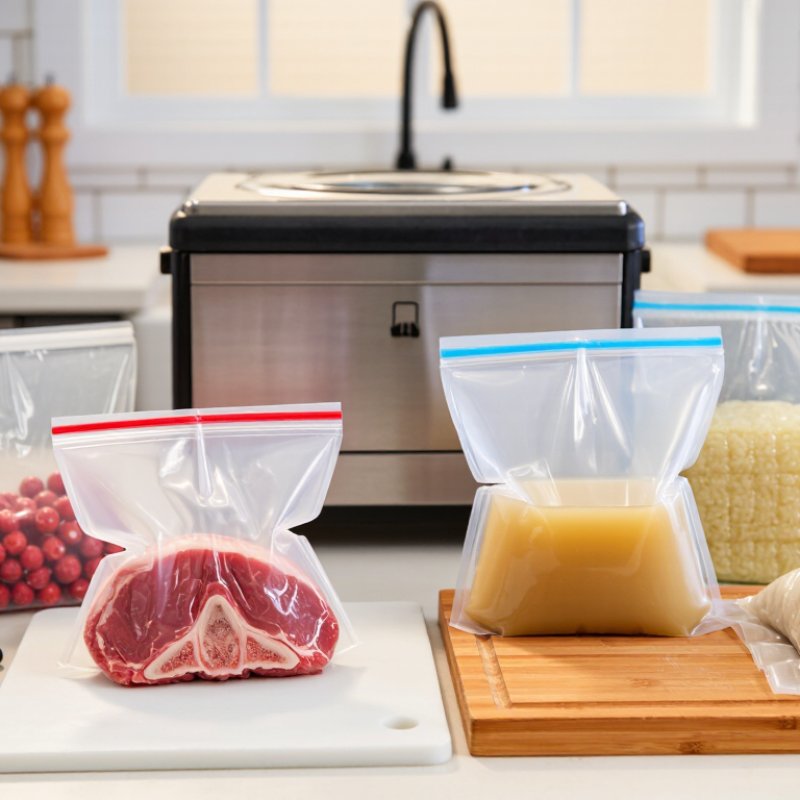
Universal vacuum sealer bags are not truly universal. Compatibility depends on the machine’s sealing method, bag texture, and size. Most external suction sealers need textured bags with channels that help remove air. Chamber machines can often seal smooth bags because air is removed from the chamber itself. Check the appliance manual before buying; similar-looking bags may work differently. Small detail, big difference.
Compare the bag width with the sealer’s sealing bar, and leave enough room above the food for a clean seal. A bag that is too wide may wrinkle at the seal, while one that is too short can crowd the food. Check the stated temperature range if you plan to freeze, microwave, or gently heat sealed portions.
Before storing a full batch, seal a dry test bag and inspect the seam for gaps or folds. Not always obvious. If the seal looks uneven, try a different bag thickness or adjust how the bag sits. Also verify that the material is intended for food contact. Compatibility can be fussy. A little trial and error is normal, but the machine instructions should guide the final choice.
7 Tips for Choosing Universal Vacuum Sealer Bags
Choosing the Right Bag Size, Thickness, and Material
Tip 1: Measure before buying. A bag should hold the food without stretching tightly around it. Leave about three inches of open space above the contents for sealing. Too much empty space wastes material, though I still misjudge this with oddly shaped cuts.
Tip 2: Match the bag size to the portion. Small bags suit herbs, cheese, and single servings. Larger bags work better for roasts or several vegetables. Avoid forcing sharp bones into narrow bags. They may puncture the plastic during storage.
Tip 3: Check the thickness for your intended use. Thicker bags usually resist punctures and freezer abrasion better. A lighter bag can work for dry foods and short-term storage. It may fail around rough edges, however. Inspect every seal after vacuuming.
Tip 4: Choose a food-safe material designed for vacuum sealing. Textured channels help air escape in many universal systems. Smooth plastic may not remove air efficiently in external suction machines. Read the packaging carefully, because “universal” does not guarantee compatibility with every sealer.
Tip 5: Consider heat and moisture. Bags for sous vide cooking need suitable heat resistance and strong seals. Wet foods can interfere with sealing, so chilling them first often helps. I sometimes freeze sauces briefly before sealing; it keeps liquid away from the seal area.
Tip 6: Look for clear construction. A transparent bag makes leaks, freezer burn, and food changes easier to notice. Strong seams matter more than glossy appearance. Tip 7: Test one bag first. Different machines create different sealing pressure, and small trials prevent unnecessary waste.
| Tip | What to Check | Practical Guideline | Why It Matters |
|---|---|---|---|
| 1. Confirm sealer compatibility | Check whether your machine is an external-suction sealer or a chamber sealer. | External-suction machines commonly require embossed or channel-textured bags. Chamber sealers generally use smooth bags. Follow the machine manual. | “Universal” does not mean every bag works with every sealer; the wrong surface can prevent air from being removed properly. |
| 2. Choose the right width | Measure the sealer’s maximum supported bag or roll width. | Select a width that fits the machine’s sealing bar, with a little room around the food item. Check roll width before purchasing. | A bag that is too wide may not fit or seal evenly; a very narrow bag can be difficult to load and seal. |
| 3. Allow enough bag length | Account for the food, the open end, and the area needed for a heat seal. | As a starting point, leave about 2–3 inches (5–8 cm) between the food and the open edge; leave extra room for bulky or moist items. | Adequate clearance helps keep food and liquid away from the sealing area and makes a secure seal easier to form. |
| 4. Match thickness to the job | Review the stated film thickness and whether the bag is designed for everyday or heavy-duty use. | Around 3–4 mil (approximately 76–102 microns) is a common range for general food storage; thicker bags may suit sharp-edged or heavier portions. Confirm the supplier’s measurement method. | Thicker film can offer greater puncture resistance, but thickness alone does not determine sealing performance or food-storage suitability. |
| 5. Check material and food-contact suitability | Look for food-contact information and details about the bag’s film construction. | Many vacuum bags use multilayer films, often combining polyamide for barrier strength with polyethylene for sealing. Verify suitability for the intended food and use. | Material construction affects oxygen and moisture barriers, flexibility, and heat-sealing behavior. |
| 6. Match temperature ratings to use | Check whether the bag is rated for freezing, refrigeration, boiling, or sous vide. | Use only within the temperature range stated for the bag. For sous vide or heating, confirm both the bag rating and the appliance instructions. | Not all vacuum bags are designed for cooking temperatures, and freezer suitability does not automatically imply heat suitability. |
| 7. Consider rolls, pre-cut bags, and reuse | Compare roll convenience with pre-cut sizes, and read care instructions before considering reuse. | Rolls let you customize length; pre-cut bags save preparation time. Reuse only when the bag’s instructions allow it, and avoid reusing bags that held raw meat, fish, or greasy foods. | The right format can reduce waste, while appropriate cleaning and reuse practices help limit cross-contamination risks. |
Note: Always follow the vacuum sealer and bag manufacturer’s instructions for compatibility, sealing, storage, and temperature limits.
Heat resistance matters because vacuum bags meet both warm food and a heated sealing strip. Check the manufacturer’s stated temperature range, then match it to your actual use. A bag suitable for chilled leftovers may not be designed for simmering or sous-vide cooking. Do not assume thicker film is automatically safer; material and construction also affect performance.
Seal quality is easier to judge with a simple test. Place a dry paper towel inside, seal the bag, and gently press around its edges. Look for wrinkles, gaps, or channels where air could escape. A clean, flat sealing area helps, so wipe away grease or crumbs before sealing. Small details matter. If the bag leaks, check whether the opening was folded or damp before blaming the film.
For heat testing, follow the stated limits rather than experimenting with boiling water or unusually high temperatures. Let freshly cooked food cool as directed before packing, since steam and moisture can interfere with a dependable seal. Results can vary with the sealer’s settings and the bag’s fit. Even a neat-looking seam can fail later, so inspect the seal after cooling and before storage.
Matching bags to the food matters more than choosing the largest roll. For steaks, select a bag with enough width for a flat, even seal. Leave at least eight centimeters above the food. This space helps prevent liquid from reaching the sealing area. For vegetables, use medium-sized bags and divide them into meal portions. Smaller portions cool and thaw more evenly. Thin bags work for dry foods, such as rice or crackers. Dense foods need stronger material and careful handling.
Moist foods require extra attention. Pat meat dry before sealing, and chill soups or sauces before using the vacuum function. A short pause can prevent liquid from being pulled into the machine. I once sealed warm stew too quickly, and the seal failed overnight. That mistake changed my routine. Use bags with textured channels when reliable air removal matters. Check the seal for wrinkles, gaps, or trapped liquid. One seal may not be enough for sharp bones or shells. Add a second seal above the first when punctures seem possible.
Match the bag length to the storage period. For freezer storage, thicker bags usually resist cracks from frozen edges. Leave room around irregular foods instead of forcing them into a tight shape. Label each bag with the food name and packing date. This small detail prevents forgotten portions. Do not reuse bags that held raw meat, oily food, or heavily seasoned liquids. Clean-looking plastic can still carry residue. Universal bags are convenient, but they are not equally suitable for every food. My own choices still change after testing different textures, temperatures, and portion sizes.
Choosing universal vacuum sealer bags requires more than checking their size. Compatibility matters, but reusability, safety, and long-term value deserve equal attention.
A practical test starts with the sealing channel. The bag should sit flat without folding near the opening. Uneven edges can create tiny leaks. I once reused a bag that looked clean, but its seal weakened after freezing. That mistake changed my routine. Now, I inspect the seam, corners, and inner surface after every use. Bags marked for reuse should be washed with mild detergent and dried completely. Moisture trapped inside may encourage unpleasant odors or bacterial growth. Reusing bags for dry foods is usually simpler than reusing them for raw meat.
Safety depends on temperature limits. Check whether the material is approved for refrigeration, freezing, boiling, or gentle reheating. Never assume one bag suits every method. Some bags become cloudy or brittle after repeated heating. Avoid using damaged bags, even when the damage seems minor. Keep sharp bones and rough shells away from the plastic, or wrap them before sealing. Leave enough space above the contents for a strong seal.
Value is not just the lowest price. Divide the package cost by realistic uses, then include washing time, water, and failed seals. A cheaper bag may waste food after one leak. A thicker bag may cost more but protect delicate portions better. Still, thicker does not always mean safer. Read the material information and follow the stated instructions. I am still refining my own balance between convenience and waste, because perfect reuse is harder than it sounds.